
This post may contain affiliate links.
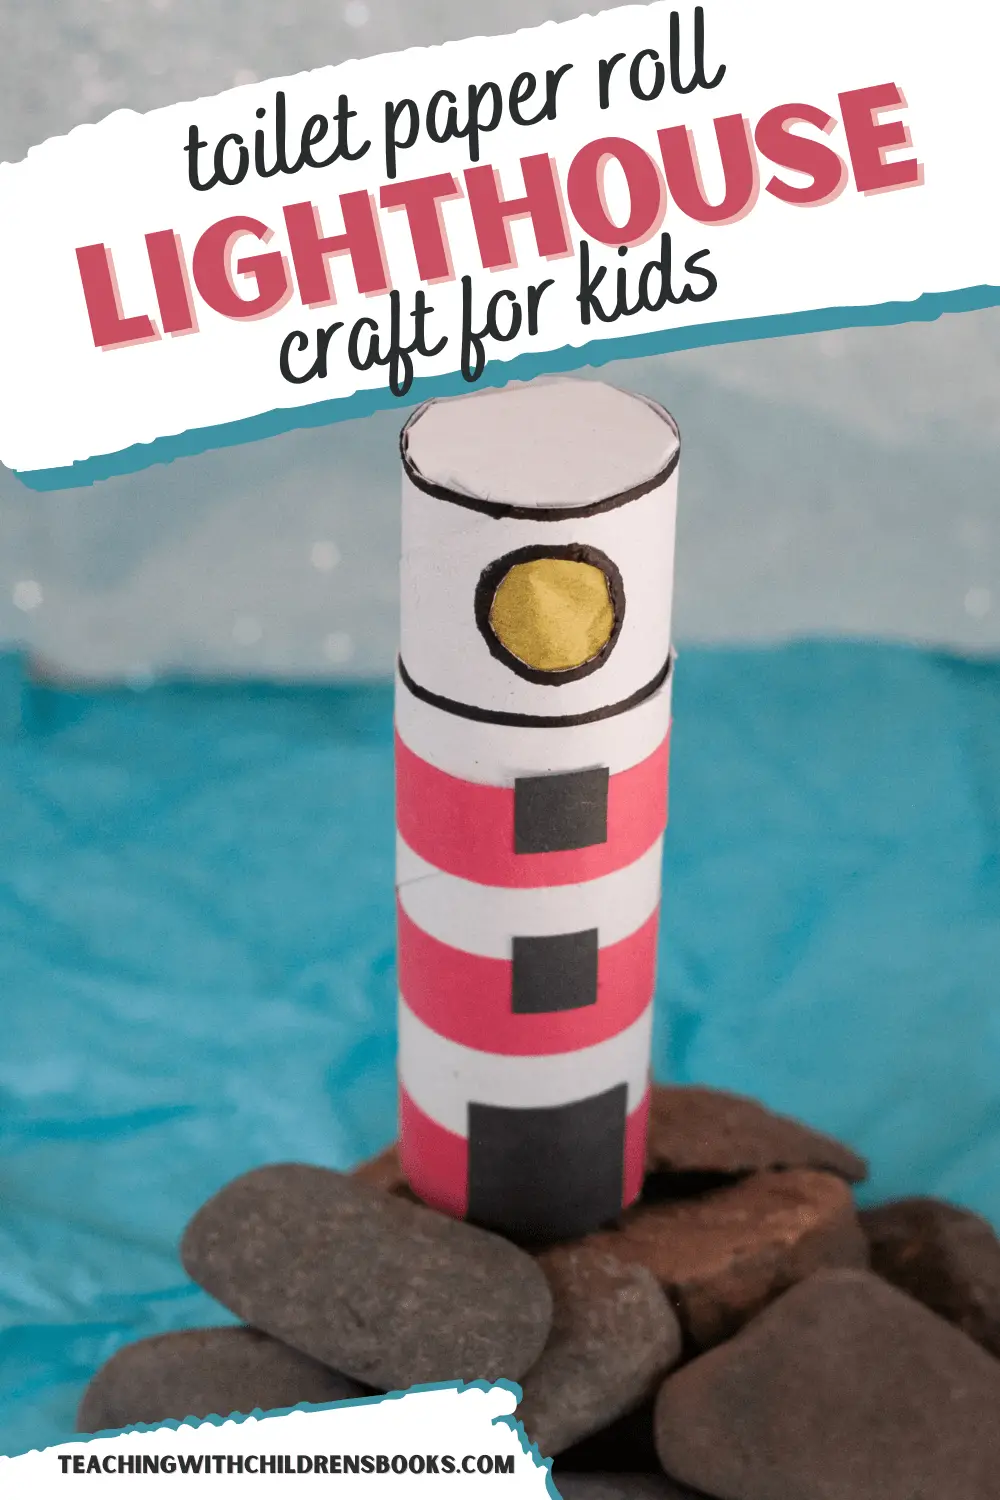
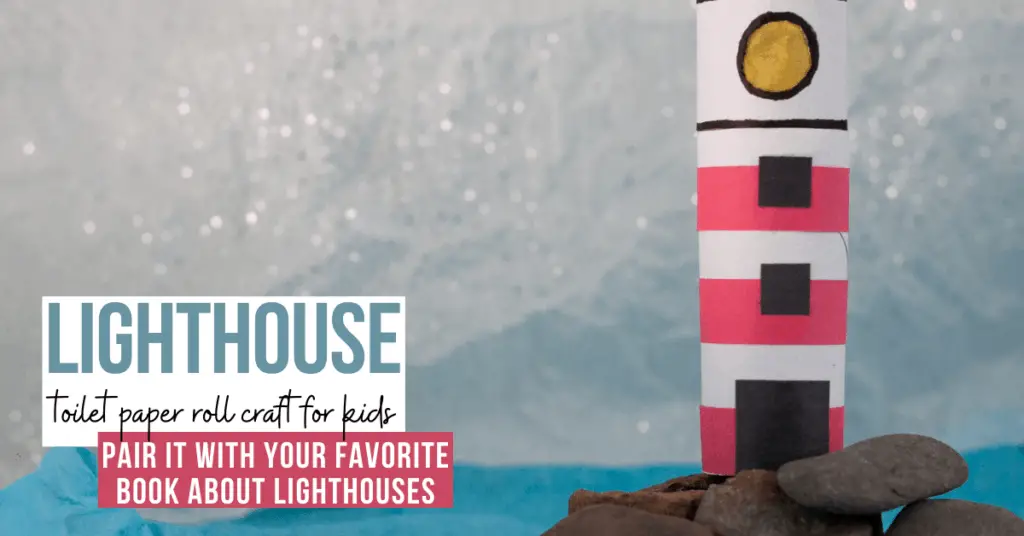
Pair this toilet paper roll lighthouse craft with your favorite lighthouse books for a fun summertime craft for kids to make.
A few years ago, we visited the Outer Banks in North Carolina. While there, we toured a few lighthouses, and we loved climbing to the top to take pictures.
Doing so sparked an interest in lighthouses. I bought The Little Red Lighthouse and the Great Gray Bridge, and I created a fun printable to go with it.
This craft is a lot of fun for kids to make, and you can use it with any of the lighthouse themed books on your summer teaching list.
Lighthouse Craft for Kids
As you begin pulling together resources for your lighthouse-themed activities, be sure to include some videos, books, and activities to teach your kids about lighthouses.
Kids will love learning about these fascinating structures and their importance.
LIGHTHOUSE VIDEOS FOR KIDS
I love incorporating videos into our lessons and activities whenever possible. They’re a great way to break from the books and worksheets that typically fill our themes.
I also save them for rainy days or sick days that may crop up during the unit. Here are a few fun ideas for kids:
What You’ll Need to make the lighthouse craft
- 3 toilet paper rolls (at least 2 white)
- ruler
- scissors
- red construction paper
- black construction paper
- glue
- black marker
- tape
- yellow tissue paper
- battery-operated tea light candle
Making the Lighthouse Craft for preschoolers
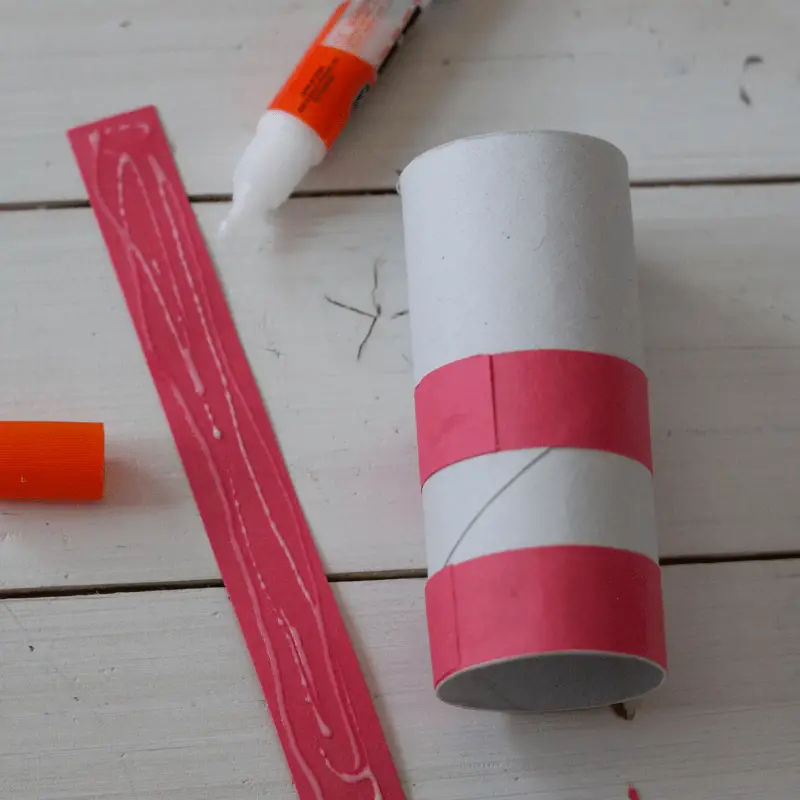
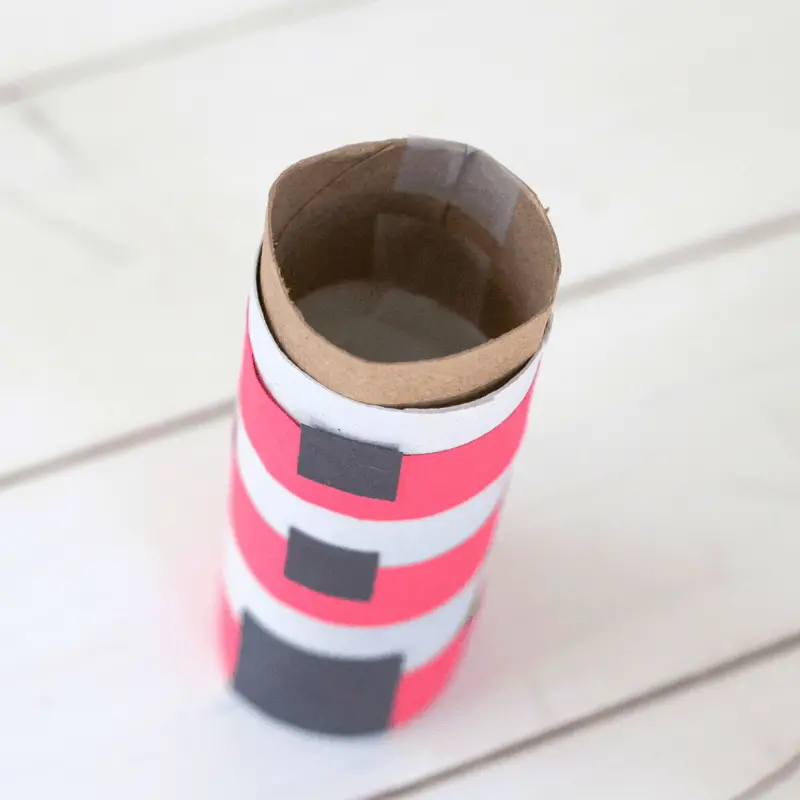
To begin, cut three strips of red construction paper that are 6″ x ¾”.
Glue the red strips onto a white toilet paper roll, starting with the first red piece flush with the bottom of the paper roll. Space them about ⅝” apart from each other.
For the windows and doors: Cut two ½” squares and one 1″ square out of black construction paper. Glue them to the lighthouse.

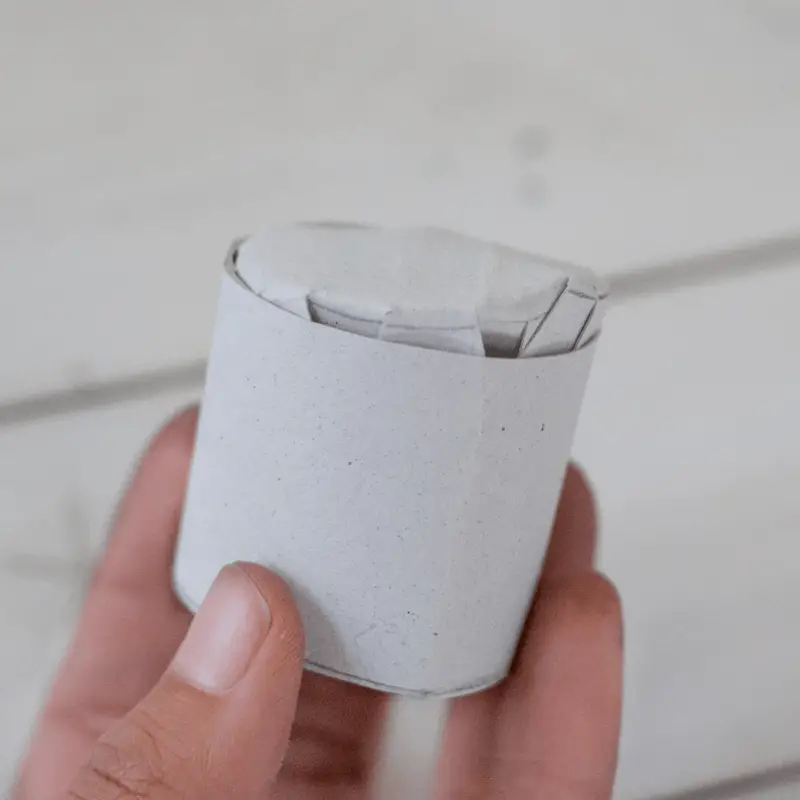
For the top of the lighthouse, cut a 1 ½” section off the second white toilet paper roll.
Cut all the way through the remaining piece of the toilet paper roll, and lay it out flat.
Trace the circular section onto the flat piece and cut it out leaving about ¼” around the circle.
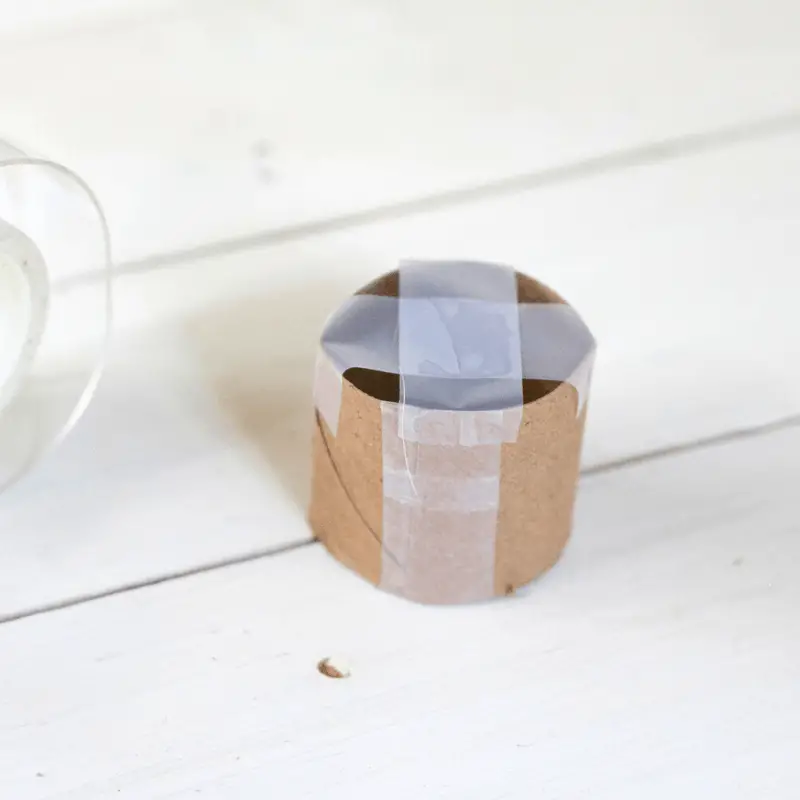
Cut slits, about ¼” apart, from the outside of the piece into the traced circle. Bend the sections toward the middle to make a circle cap that fits tightly into your 1 ½” toilet paper roll section. Set aside.
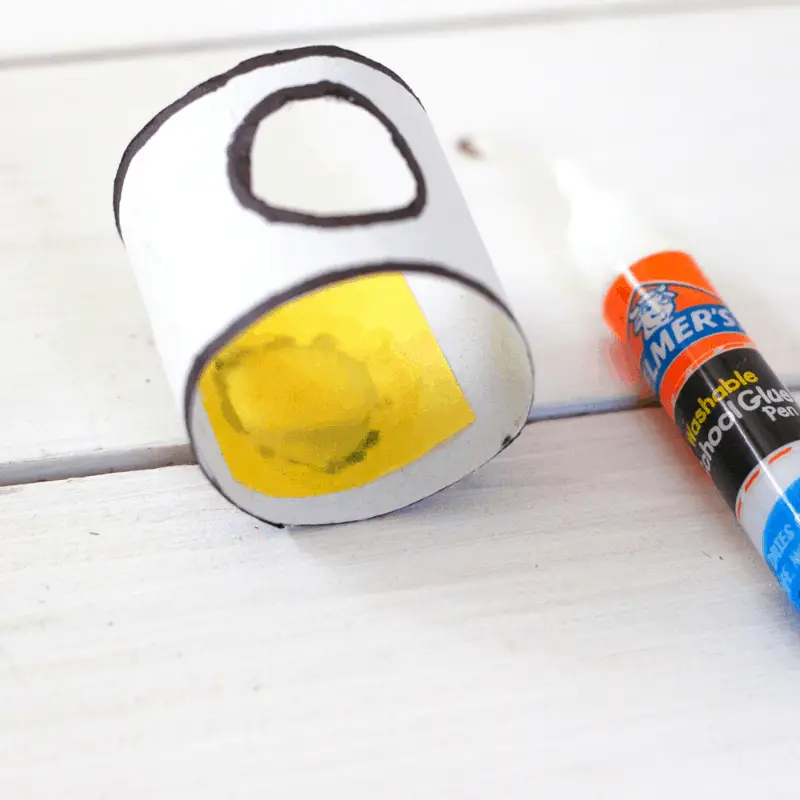
Cut two circles out of your lighthouse top.
Use a black marker to trace the circle window areas and the top and bottom of your lighthouse top.
Cut out two squares of yellow tissue paper slightly larger than your circle windows and glue them over the windows on the inside of the toilet paper roll.
Place the circle cap over the finished lighthouse top.
For the inside/middle of the lighthouse where your candle will sit, cut a 1 to 1 ¼” section from your third toilet paper roll. This needs to fit snugly inside of the bottom of the lighthouse, so cut a piece out that’s 3/16” wide and then tape it back together. If it’s not fitting, remove the tape and make it smaller. It needs to be tight enough to hold the weight of the candle without slipping down.
Make an “x” with two pieces of tape on one end to make a place for your candle to sit on; place this middle section into the top end of the lighthouse base, leaving about ⅜” sticking out the top.
Place your candle into the middle section, turn it on, put the lighthouse top on and your lighthouse is ready to light up the night skies!

Children’s Books About Lighthouses
Below, I’ve featured just a handful of lighthouse books that will help your kids understand more about these structures and their benefits to life along the shore.
You should be able to find them at your local library or bookstore. If you can’t find them locally, you can click each image cover to purchase them on Amazon.


Lighthouse Dog to the Rescue – Pauline, the lighthouse keeper’s daughter, is proud of her pet spaniel because he is helpful and clever and a friend to all. But even Pauline does not realize just how brave and loyal Spot is until the night a terrible blizzard hits and a boat is missing out in the storm.
The Little Red Lighthouse and the Great Gray Bridge – On the Manhattan bank of the Hudson River, a small lighthouse–made of steel and painted bright red–proudly protects boats with his faithful beam. One day a great expanse of gray steel, which also shines a bright light into the fog and darkness, is built over it. The little red lighthouse feels insignificant and useless in comparison but soon learns that . . . small can be mighty!
Lighthouse – This beautifully illustrated storybook tells the tale of an old man who embarks on a journey at sea. While on his voyage, he encounters a mighty storm and becomes scared, lost, and tired. Through the darkness, a lighthouse calls to him and guides him to an extraordinary place where he is reminded of the beautiful things that make life worth living.

Round Out Your Unit with These Activities:
Add a lighthouse LEGO set to your hands-on learning area, and kids can build their own 3D version.
These adorable wooden beach play accessories are ready to be added to any ocean or summer small world, felt playscape or sensory bin.
Lighthouse Craft

Materials
- 3 toilet paper rolls (at least 2 white)
- red construction paper
- black construction paper
- yellow tissue paper
- battery-operated tea light
Tools
- ruler
- scissors
- glue
- black marker
- tape
Instructions
- Cut three strips of red construction paper that are 6" x 3/4".
- Glue the red strips onto a white toilet paper roll, starting with the first red piece flush with a button. space them out 5/8" apart from e/o.
- For the windows and doors, Cut two 1/2" squares and 1" square out of black construction paper, and glue them to the lighthouse.
- For the top of the lighthouse, cut 1 1/2"section off of the second white toilet paper roll.
- Cut all the way through the remaining piece of the tp roll and lay it out flat.
- Trace the circular section onto the flat piece and rough cut it out leaving about 1/4" extra around the circle.
- Cut slits (About 1/4" apart) from the outside of the piece onto the traced circles, and bend the section in to make a circle cap that fits tightly into your 1 1/2" tp roll section. Set aside.
- Cut two circles out of your lighthouse top.
- Use a black market to trace the windows circle area and the top and bottom of your lighthouse top.
- Cut out two squares of yellow tissue paper slightly larger than your circle windows and glue them over the windows on the inside of the toilet paper roll.
- Place the circle cap over the finished lighthouse top.
- For the inside/middle of the lighthouse where your candle will sit, cut a 1 or 1 1/4" section from your third toilet paper roll. This needs to fit snugly inside the bottom of the lighthouse, so cut a piece out that 3/16" wide and then tape it back together.
- If it's not fitting, remove the tape and make it smaller. It needs to be tight enough to hold the weight of the candle without slipping down.
- Make an "x" with two pieces of tape on one end to make a place where your candle will sit. Place this middle section into the top end of the lighthouse base, leaving about 3/8" sticking out the top.
- Place your candle into the middle section, turn it on, put the lighthouse top on and your lighthouse is ready to light up the night skies.
Leave a Reply